Changing the AIAB titlebar logoOkay, so you've just spent the best part of an hour changing the AIAB 'look', creating a completely different colour-sheme. Unfortunately, now the AIAB logo in the top-left corner looks totally out of place. "If only..." (you mutter to yourself) "...it was possible to change the image to one of own - then, and only then, would my life be complete...". Well, luckily for you, thats exactly what this tutorial is all about. Read on to be amazed!
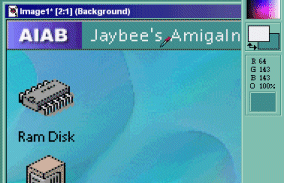
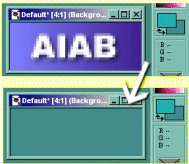
Step1. - 'You find the colour, we'll match it'Load up your AIAB setup, with the new fangled colour scheme, and press the "Print Screen" key on your keyboard to copy a screengrab to the clipboard. Next load up Paint Shop Pro (or whatever gfx software you have installed), and click 'Paste as new image', then....
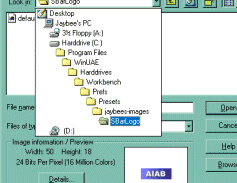
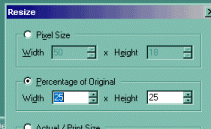
Save this new image, and load WinUAE to marvel at you're revamped titlebar! Although you can generally have pictures of any size, try to stick with image dimensions of 50x18, as larger pictures will slow loading times, and may even make the Amiga (more) unstable (!). |


