AIAB Installation HelpYou know, despite my efforts to make AIAB as easy to install as possible, some people still manage to fluff it up...strange as it may seem, going through the AIAB-readme is still not enough for them! Well, this page will make installation problems a thing of the past.....oh, who am I trying to kid? You could probably make an mpeg video tutorial on how to install AIAB, and people would still have problems...pah! If you're after information on how to use AIAB with MacUAE, click here. |
Step 1 - "Sticky-back-plastic not included...."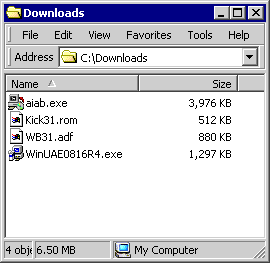 |
After you have finished downloading WinUAE, and AIAB (note the filenames), and of course
transferred your own Workbench ADF and Kickstart ROM (oh of course!), Plonk them into a folder
which you can get to easily, and wont "lose".
You should have four files:
* Filenames will almost certainly vary! Click here if you have more than one Workbench ADF (eg: WB31_1.adf, WB31_2.adf, WB31_3.adf etc.). |
Step 2 - "Brian, we love you..... Brian, we do...."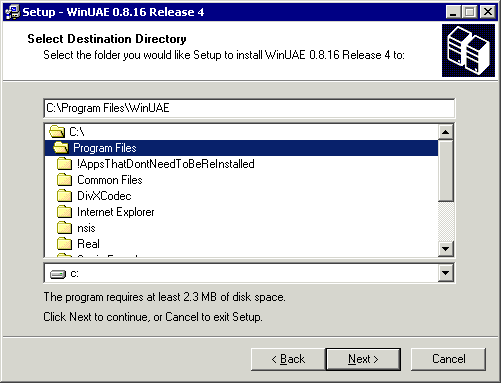 |
Next load the WinUAE installer, click next, and note that WinUAE defaults to C:\Program Files\
for the install path. You might want to make sure that there isnt another version of WinUAE
already there...just in case it arses around with it.
Anyway, click next a few more times until WinUAE is installed. |
Step 3 - "Jaybee, we love you..... Jaybee, we do...."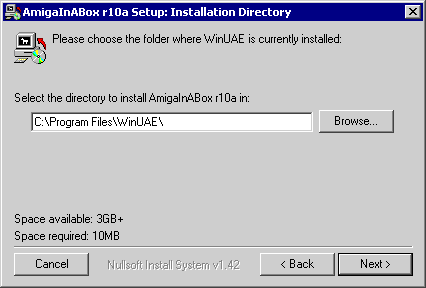 |
Now load the AIAB installer, click next, and make sure AIAB has detected C:\Program Files\
as the install path.
Click next again...... |
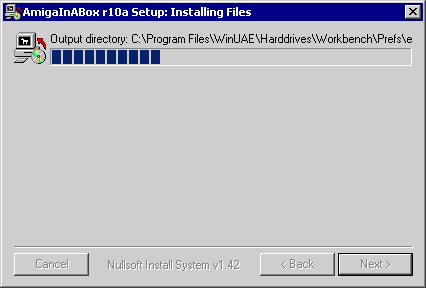 |
Whahey...its off!
Right, nows the chance to go downstairs, put the kettle on and make a cuppa. The AIAB installation is especially designed to match the time taken for an average Tefal kettle to boil, a teabag * to be dropped into a cup, and for a handfull of custard-creams to be knabbed. So grab a tray and place the following items onto it:
Then proceed back upstairs...... |
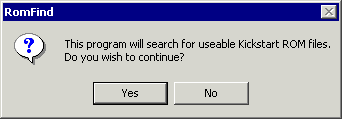 |
Let RomFind by Falke Schwanke search for Kickstart ROMs on your PC.
Click okay, and drink your tea *. If you're going to dunk some biscuits, be carefull! The last thing you want to have to do is start fishing around for bits of biscuit which were over-dunked and "didn't quite make it". You'll end up with manky fingers resulting in mouse-slippage later on. |
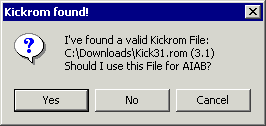 |
Lovely!...RomFind has found the Kickstart ROM in your downloads folder. Note how the ROM
version number is displayed in brackets - eg: Version 3.1. I recommend you use this one since
its the latest available.
Click "Yes", and load up Windows Explorer. |
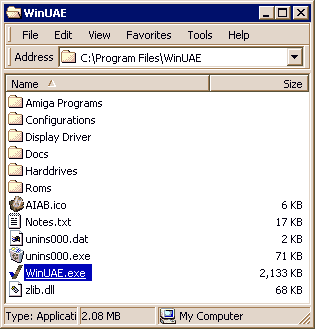 |
Now, in Windows Explorer goto your Program Files folder, find WinUAE, and finally click on
the WinUAE executable to load it up.
It might also be a good idea to make a shortcut on the desktop, so that you can run WinUAE quickly. I dont think I really need to discuss how to do this though.....I hope not anyway... |
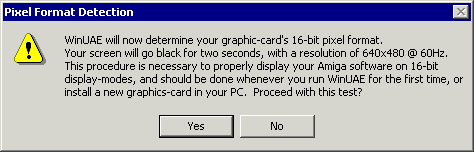 |
If this is the first time you've ever ran WinUAE, it'll probably pop-up asking if it can
decipher you're PC's GFX card.
Click "Yes". |
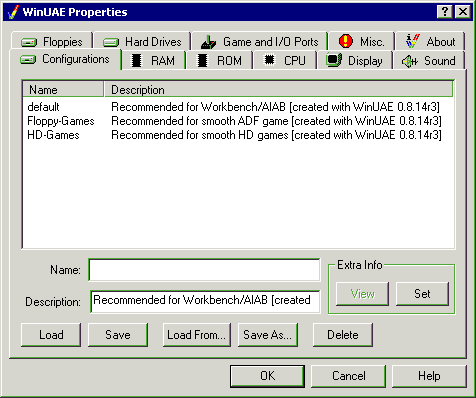 |
The WinUAE GUI will appear. Now, you'll probably be tempted to start clicking on all
those lovely configuration tabs, but please, I beg you not to...at least not yet anyway.
Instead, just click "Ok" and WinUAE will start the emulation. |
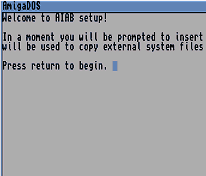 |
Within a few seconds, you'll see a gray screen with a bit of text on it, describing whats
going on, and what to do next.
Press 'Return', and a requester will appear, prompting you for the Workbench ADF. So call up the WinUAE GUI (press F12) and click on the "Floppies" tab. |
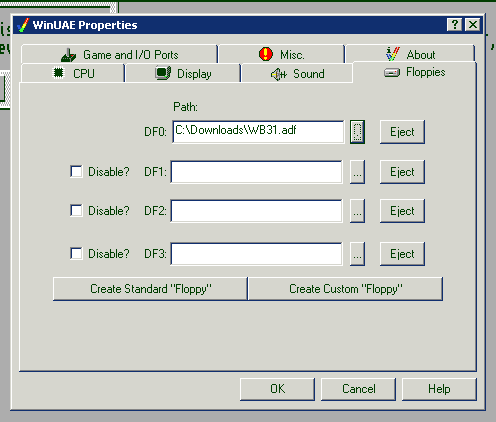 |
Next click on the ... button, to open a file-requester, and select your Workbench ADF.
The textbox should look similar to that in the screenshot.
Then click "Ok" to make the WinUAE GUI disappear, and return to the emulation. |
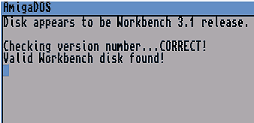 |
Now cross your fingers, and hope that the ropey AIAB install script accepts your Workbench ADF.
If for whatever reason it doesnt (probably because you've selected the wrong ADF - maybe the
information here will help?), the installation will keep on looping
until its satisfied.
Oooh, it looks like I've got lucky! |
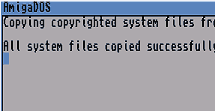 |
AIAB will then start copying some files from the ADF - this might take a while, so be patient ;) |
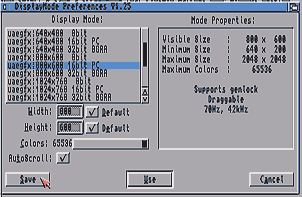 |
Now you'll be asked to select a UAEGFX 800x600 15/16bit display mode - again, dont try
and be clever, just stick to what you're told to do, (unless of course there are no entries
for 15/16 bit and you'll have to make do with 32 bit.....
You might need to also maximise the "Colours" bar, if so, slide it upto the top. Finally, click 'Save'. There will probably be a few more options to choose from, but eventually you'll be asked to press 'Return' to reboot. |
Step 7 - "Are we there yet?...."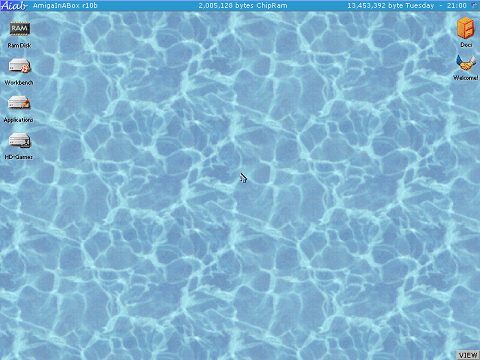 |
Yippee!
AIAB has finished installing, and you'll see a screen just like this one (albeit slightly bigger....), double click the "Welcome!" icon, and have a bit of a read - it'll get you started on how to use the AmigaOS. Now that wasn't too difficult was it? Well...it certainly didnt warrant me having to make this page anyway...grrr! If you dont get this screen, but a Workbench requester as in step 6, its probably due to a problem with your Workbench ADF. Ive written some possible solutions here. |